Event description
Stronghold Siege is a 20vs20 pvp/pve content which is basically a war between two guilds.
Unlike the usual PVE or PVP contents of the game, the goal of the siege event is to destroy the other guild’s stronghold (not permanently, don’t panic). This can be achieved in two different ways:
- Shooting with catapults.
- Summoning a dragon.
This event has several missions / goal to help with achieving the end-goal, of which many can be done without engaging the enemy players directly, and thus without a need for dedicated PvP build.
The whole concept of the stronghold siege has a strong similarity to MOBA games: The map has 3 lanes, of which we need to capture and hold points, and allow minions to carry supplies between the different points.
Siege map
The stronghold siege map, is a large map, made of two identical parts stitched together. The map has three lanes, named: Knight’s lane (top), Reaper lane (middle / mid) and Dwarf lane (bottom / bot). Each lane contains two supply depots that can be captured. Once you capture a lane (both supply depots), you can build catapults in it.
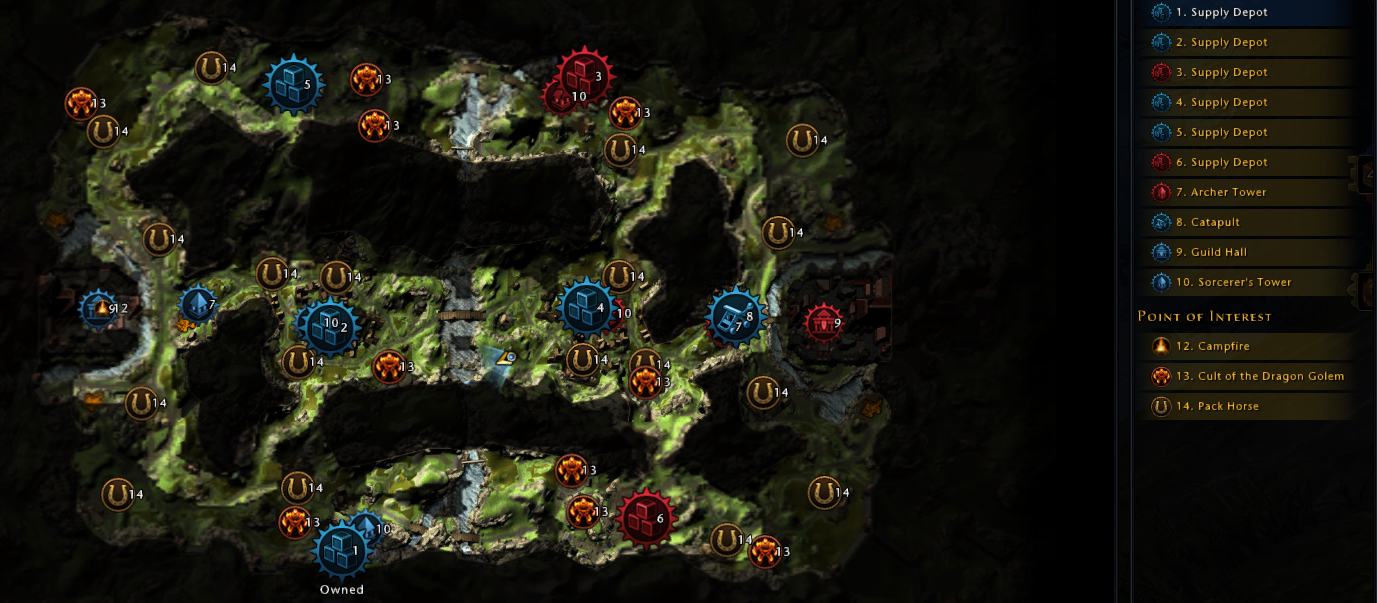
On the image above we can see the markings of the supply depots (which are also fast travel points), golems, horses, and both strongholds, one on the west side and one on the east.
Friendly are always colored blue, and enemy red.
As you can see in the image, the middle lane was captured and is held by the west guild.
In the stronghold siege map you cannot summon your companions and you cannot use most healing potions. You will be flagged for PVP which means you will have -50% stamina regeneration and tank HP bonus (the additional 40%) will not apply.
So what do we actually do?
As explained above, the winner of the siege is eventually the guild which manage to destroy the other stronghold.
This will be done by building catapults which will damage the enemy stronghold and by getting the dragons to attack the enemy.
Supplies
Supplies are basically the currency of the siege and you will use them for the following:
- Heal your stronghold
- Build Catapults and Ballistas
- Add ammo to the catapults
- Add supplies to Supply Depots to capture or repair them
Supplies can be obtained by:
- Picked up from the stronghold’s wagon after horses with supplies safely made their way to your stronghold.
- Drops from the enemy’s siege engineers when you kill them.
- Drops from an enemy who was carrying supplies when they die.
The supplies will be stored in your inventory and goes by stacks of 5.
Horses
Horses will be marked on the map with the following icon:

By interacting with the horse you will be able to choose one of two options: Follow me or Go to the stronghold.
The “follow” mode will make the horse follow you. When you reach the stronghold with the horses, they will fade away and turn into supply boxes in the wagon after quite a while.
Note that the horses cannot be sent to your stronghold when you’re on the other side of the map (after the middle) so you will need to escort them.
Another Note: when you’re moving next to a horse, the horse will run faster than if its alone.
New horses will appear every 5 minutes.

Engineers
The engineer will carry supplies from your stronghold to the supply depots under your control. If the supply depot was damaged, the engineer will fix it.
Just like the horses, when you escort the engineers they will move much faster and also be immune to damage.
Keep in mind that engineers don’t attack. If you kill them, you should feel bad!

If an engineer dies, the supplies he was carrying will drop and can be picked up by any player.
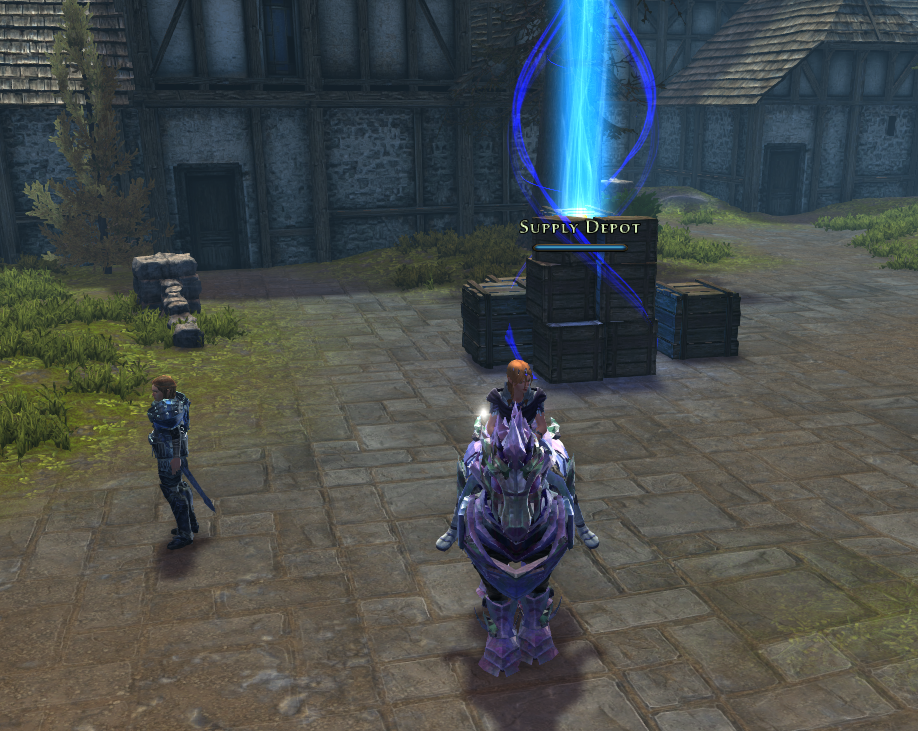
Supply Depots
The supply depots are very important for you to hold. When holding them, you will be able to fast travel to each of the controlled depots and you will also have guards protecting more areas on the map.
To capture a depot you will need to destroy the enemy’s pile of boxes, which will be done by simply attacking it. Once destroyed, the depot will be marked as neutral until one of the sides puts supplies in it. Make sure you carry supplies with you when going to capture depots.
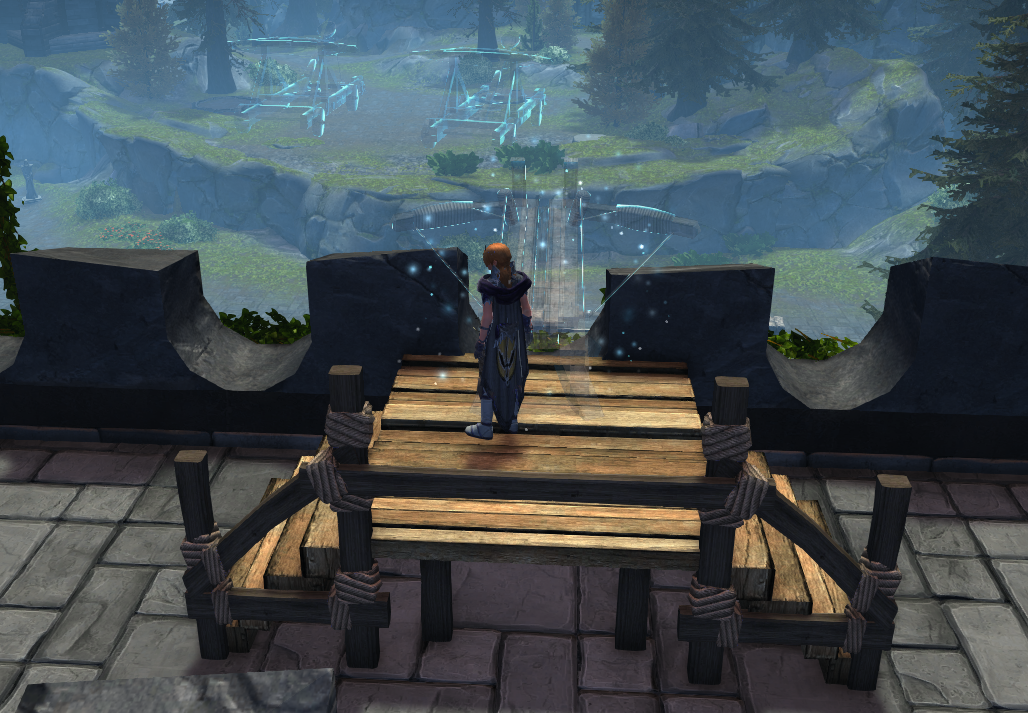
Catapults
Catapults can be built in front of each of the enemy’s gates. Building a catapult will cost you 4 supplies and gearing it up with ammo will cost you 1 supply per shot.
It is important to mention that in order to build a catapult to attack the enemy, you need to control the entire lane which in you want to build the catapult. If the enemy holds one or more of the depots in this lane, you cannot build the catapult.
In total, you can build 6 catapults.
Each catapult shot will deal 50 HP damage to the attacked guild hall.
The damage from catapults cannot be healed.

On the right you can see a round thing where you can put the ammo and the logs behind the beautiful cleric are where you build the catapult from.
Dragons
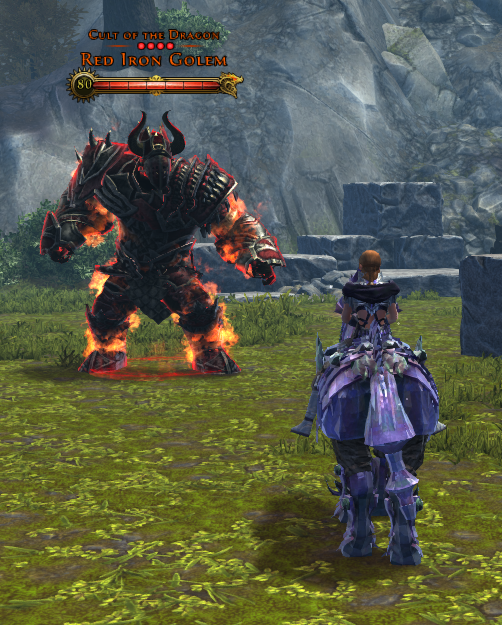
The golems will appear for the first time 8 minuets after the match starts. Then you will have either 10 minutes to collect the gold coins from golems or collect 15 coins and then the dragon will be summoned immediately. When the golems appear, you will be able to see the following icon on multiple places on the map:
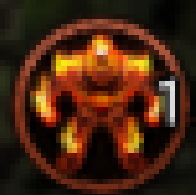
This icon means that on this location you will find a golem. A dead golem will drop golden coins which can be picked up by any player. Make sure you get them first.
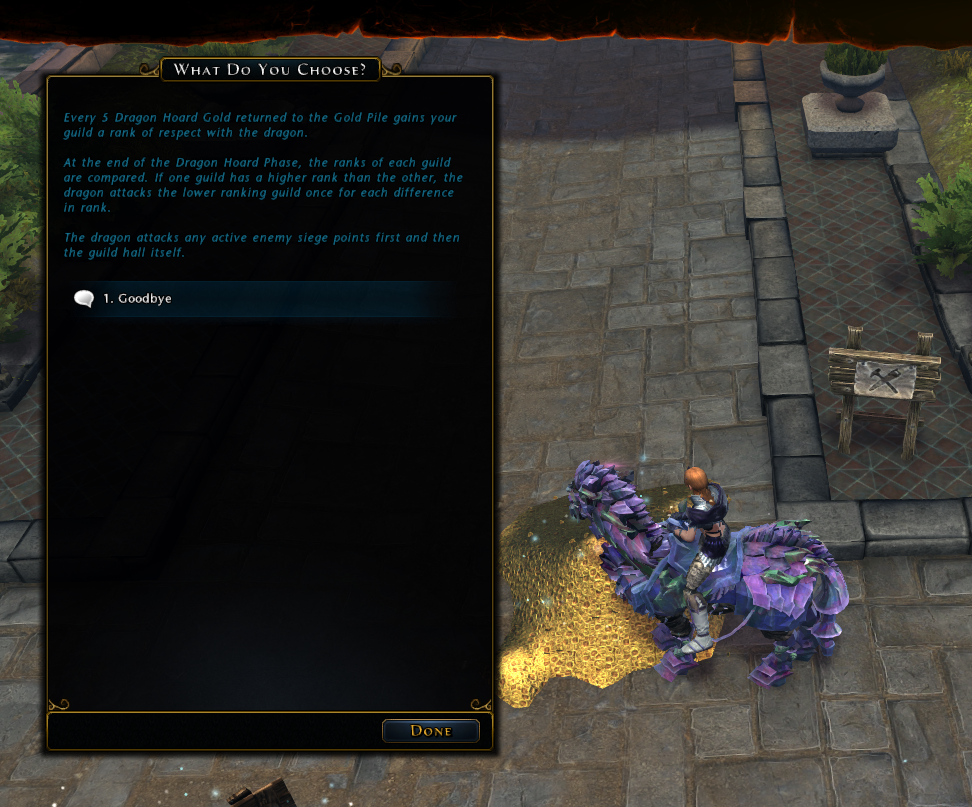
After picking up the coin, you will need to bring it back to your stronghold and add it to the gold pile next to your cart. When you do that, you will gain reputation and be able to see the progress on the following bar on the right of the screen changing:
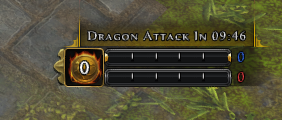
The stronghold which has more reputation will be spared by the dragons. The stronghold with the lower amount of reputation will suffer a hit by the dragon.
The dragon will deal 500 HP damage to the attacked guild hall.

Remember: this damage can be healed by dumping supplies at the stronghold mimic.
Healing the Guild Hall
It is important to mention that it’s possible to heal the stronghold by dumping supplies to the stronghold mimic which can be found in the usual location
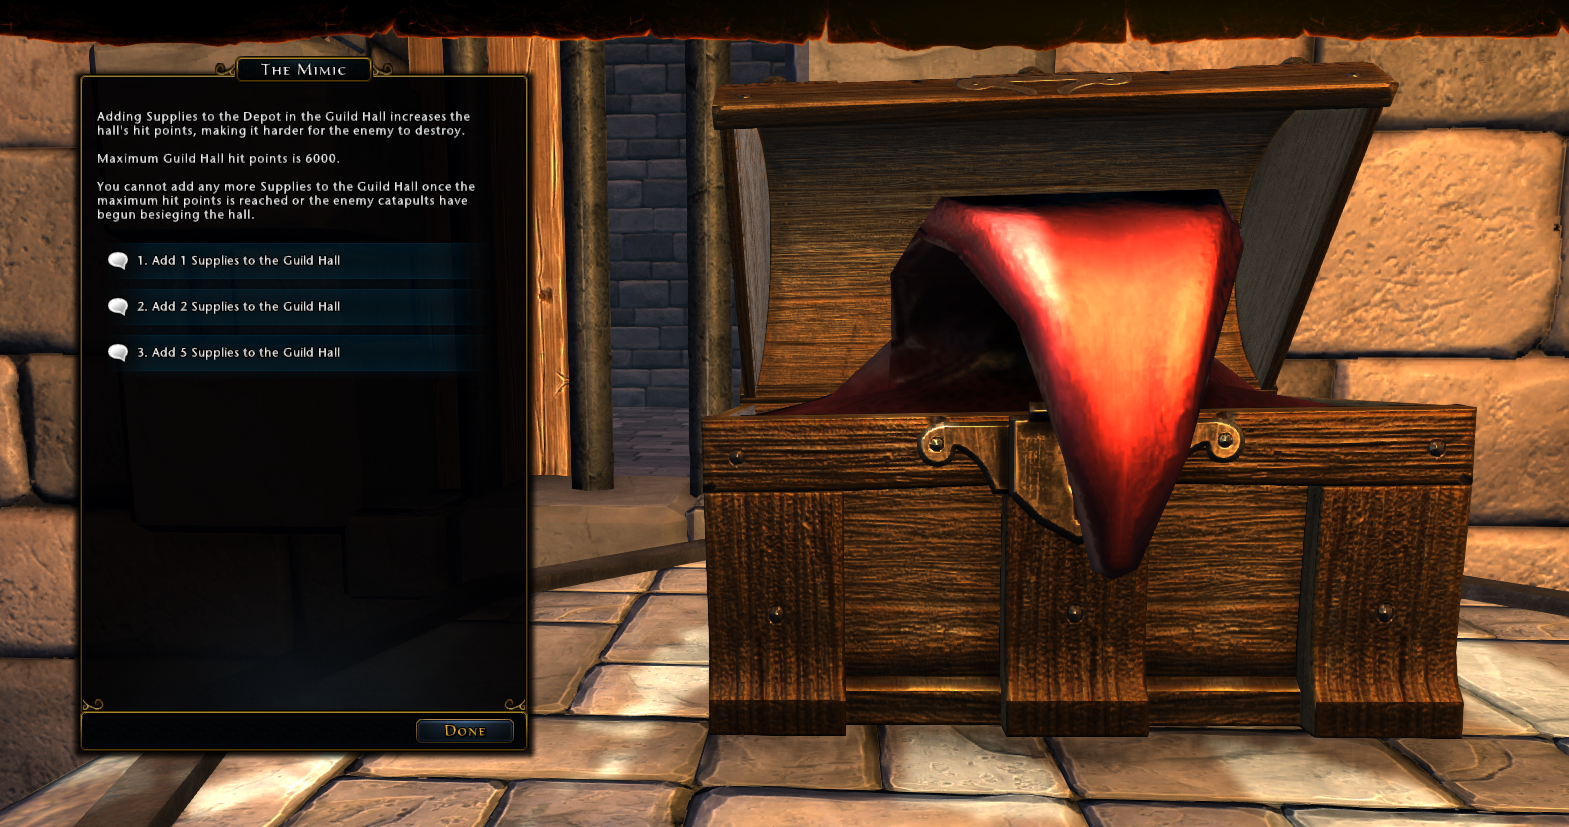
As explained in the small sad low resolution image with the funny mimic, the guild hall’s HP will be capped at 6000 HP. For each supply you dump, you heal the guild hall for 200 HP.
Each guild hall has 4,000 base HP.
BUT it will not be possible to heal damage once a siege starts. Meaning, when a catapult starts hitting your stronghold, what you had is what you have in regards to the guild hall’s HP.
Additional information
What’s in the stronghold
So in the stronghold you will be able to find the following:
- PVP vendor
This vendor will allow you to buy PVP health potions, in exchange for glory which is obtained from different kinds of PVP public queues.

The potions will be the following:
- Battle Potion of Minor Restoration – 10 Glory
“This potion heals for 50% of your max health up to 50,000 over a duration of 12 seconds. Recharge time: 2 minutes.”
- Battle Potion of Superior Restoration – 50 Glory
“This potion heals for 50% of your max health up to 125,000 over a duration of 12 seconds. Recharge time: 2 minutes.”
- A campfire for cold days.
- Supplies cart which will contain the supplies obtained by horses

- A pile of gold which will be used to toss gold coins into when the time arrives (will be explained later on)
- A mimic (Will be explained later on)

- A gate to fast-travel
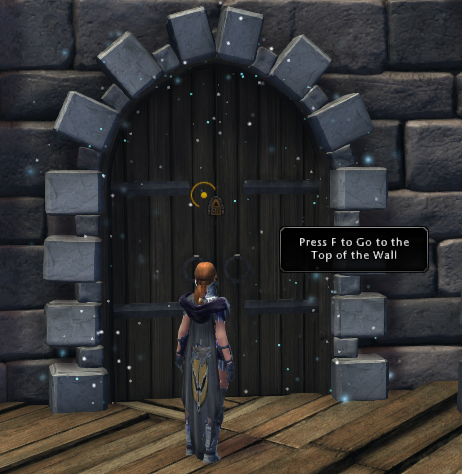
- Doors to the ramparts of the stronghold
- Ballistas on the ramparts to protect the surroundings of the stronghold
What’s outside the stronghold
When interacting with the stronghold’s gate, you will be able to fast-travel to any of the points you captured. These points will be marked with blue color.
On the front of the stronghold’s gate, you will find on each of the gates 2 guards: the Quartermaster and the Guard Captain. Both are really tough. Do not underestimate their damage and the amount of HP they have.
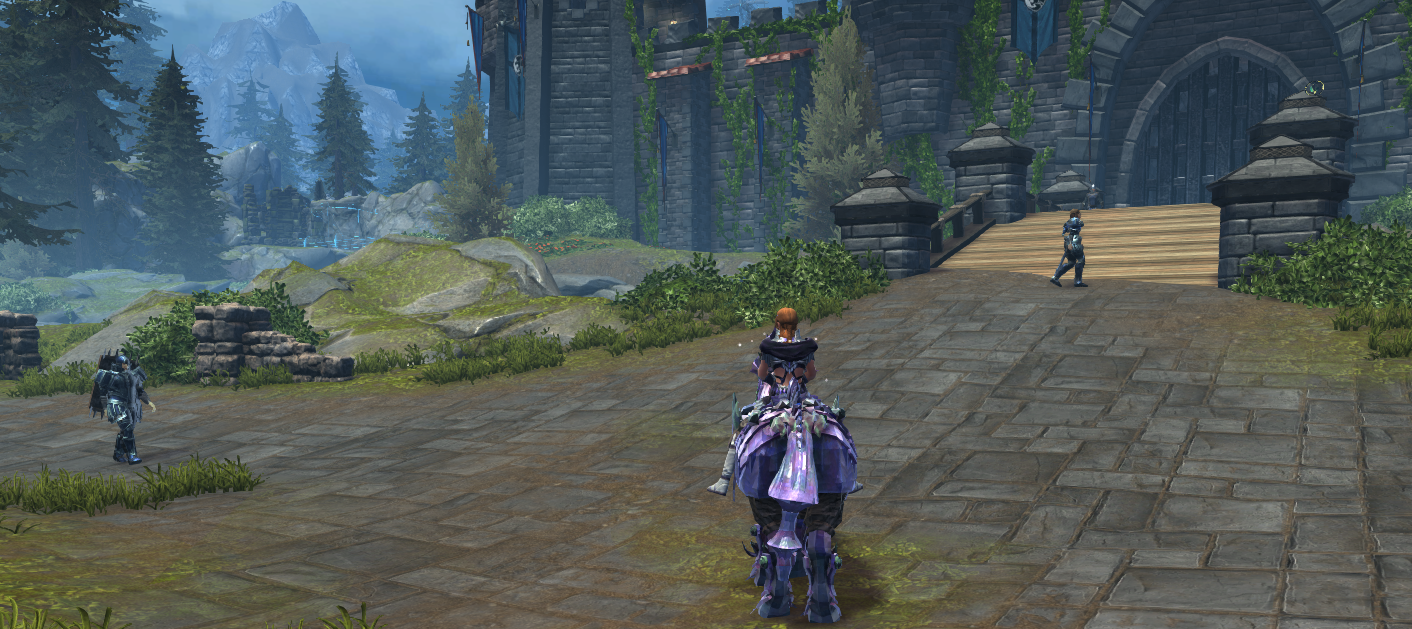
In addition to the guards protecting the front of your stronghold, you will find a couple of archers on each of the bridges between the stronghold’s front and the gate. Those archers will most likely one-shot you.

Further away from the stronghold’s gate, you will find your supply depots. Each of those will be protected by a Quartermaster and by a patrolling Guard Captain.
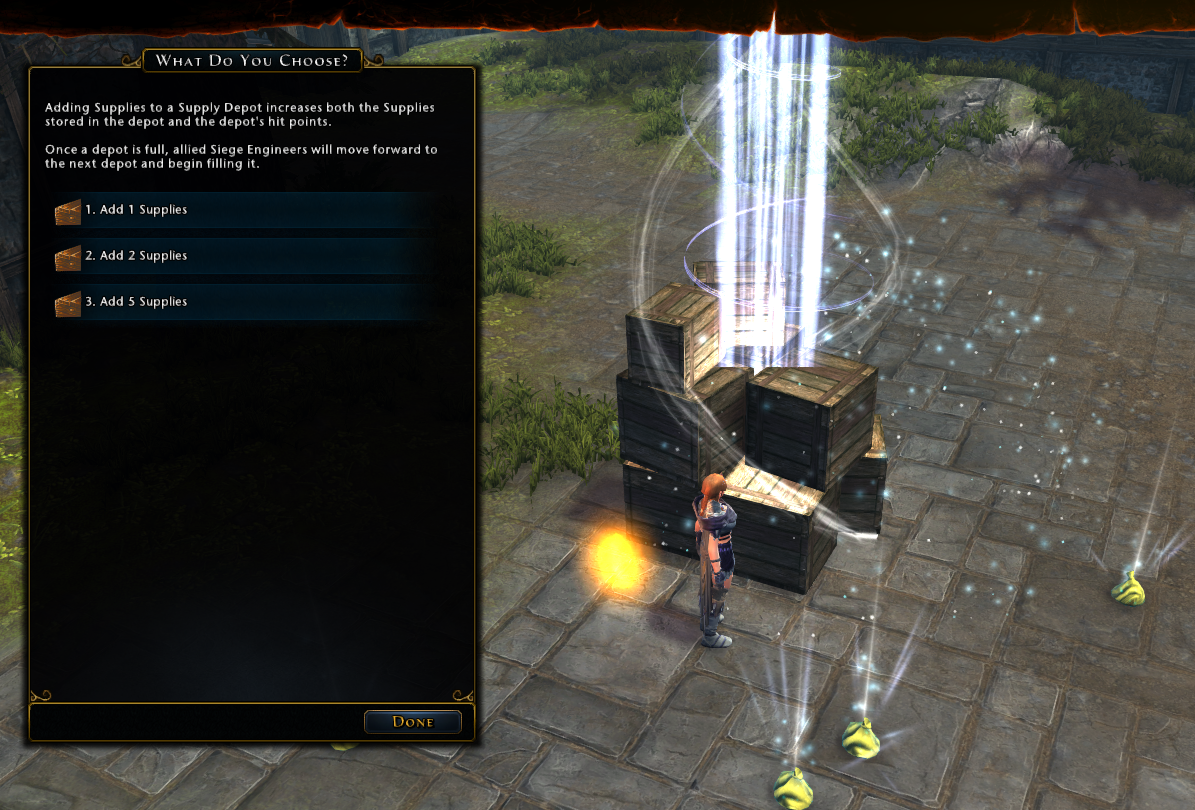
You may add supplies to your depots to increase the “HP”(….) of those.
Each captured supply depot can be used as a fast-travel point.
Next to each* of the supply depots you will also find a Sorcerer’s tower which drains the enemy’s Action Points when nearby (passively) as well as hits them
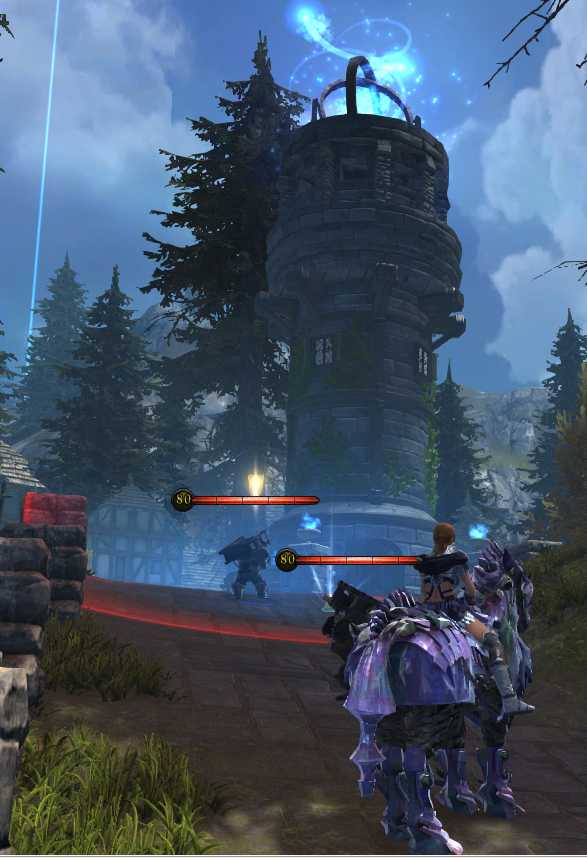
When the supply depot is captured, the tower will no longer hit you, but it will not hit your enemy too. It’s just… there.
*the top left and bottom right depots do not have a tower
You will also find Ballistas possible to build on the middle of each of the lanes on multiple spots to protect the bridges and make it more difficult for the enemy to cross them.
Building a ballista costs 1 supply.


Points
For most of the meaningful actions you do, you will get points which will be summed up as your score on the scoreboard.
It is important to mention that the points you get during the siege will affect your rewards, since it shows how much you participated.
- Killing an enemy = 50 points *
- Assisting in killing an enemy = 25 points
- Build a catapult = 25 points
- Interact with a horse = 20 points
- Add supplies to a depot = 10 points per supply
- Add supplies to the mimic = 10 points per supply
- Add ammo to a catapult = 10 points per shot
- Add gold to the gold pile = 10 points per coin
- Build a Ballista = 10 points
* killing an enemy means landing the killing shot. Anything else will count as assist.
Rewards
When the siege is over the groups will be rewarded for their performance. The winning team will of course get more rewards but the losing team is rewarded as well.
Just like any other stronghold event, you will be rewarded with minor or basic vouchers as well as strongboxes.
If you received more than 200 points during the siege, you will receive a Strongbox of the Fallen, regardless if you win or lose. This strongbox, just like any other, will be possible to open with a Strongbox Key and will contain 2 Banners of the Fallen and vouchers.
So this is how the rewards work:
- If you win with more than 3,000 HP on your Guild Hall, you will be rewarded with 3 Banners of the Fallen.
- If you win with less than 3,000 HP on your Guild Hall, you will be rewarded with 2 Banners of the Fallen.
- If you lose but your enemy’s Guild Hall had less than 3,000 HP, you will be rewarded with 1 Banner of the Fallen.
- If you lose but the enemy’s Guild Hall had more than 3,000 HP, you get no Banners of the Fallen.
Enemy Ratings
- Guard Captain – 1,550,000 HP
- Catapult – 1,500,000 HP
- Full Supply Depot – 1,225,000 HP
- Quartermaster – 650,000 HP
- Siege Engineer – 300,000 HP
- Golem – 300,000 HP
- Ballista Gunner – 120,000 HP
All enemies have 7,000 Ratings and the usual caps of 50% defense, critical strike, deflect, and 100% combat advantage.
Credits
Thanks a lot to the crusaders family for making me go through this pain of writing the guide.
Special thanks to Gwenn for helping with calculating the enemies ratings and the points system.
Special thanks to Janne for letting me host this page here and for proof-reading.
thank you Skull
very nicely done
Thank you 🙂